LED Strip Repair Kit
Working with digital LED strips, and want to cut them into smaller pieces? It can be a huge pain to solder wires back on, so we developed this LED strip repair kit to make things stronger. Solder one of the included reinforcement shims to the end of your strip, and never have a bad connection again!
Available now in the Blinkinlabs store
Materials:
You’ll need the following consumable items:
- LED strip to repair
- 3 wires, 18AWG or smaller, preferably different colors
- LED shim (included in kit)
- 1.5″ section of heatshrink tube (included in kit)
In addition, you’ll need these tools:
- Soldering iron + Solder
- Clippers
- Heat gun or lighter
- Xacto knife (optional)
Step 1: Solder the LED strip to the LED shim
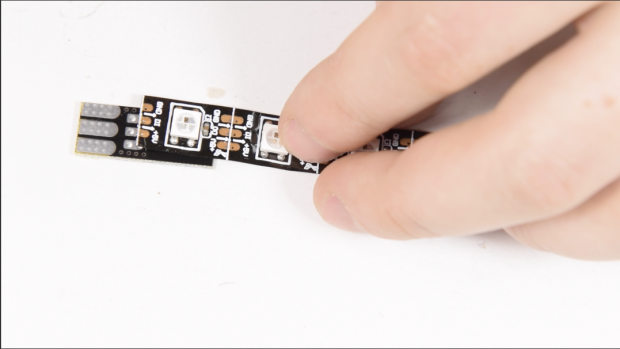
The first thing to do is solder the LED strip to the shim. Line up the solder pads on the strip (be sure you’re connecting to the right end of the strip!),
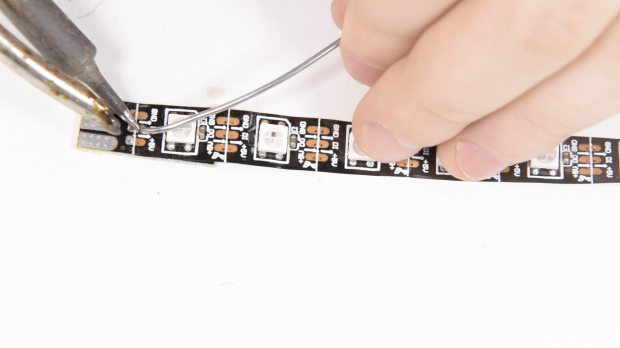
Start by soldering the center connection. Make sure the shim and strip are parallel, and reheat the solder joint to adjust it if necessary. Once everything is good and straight, solder the top and bottom connection.

Double-check that each connection looks good.
Step 2: Solder the wires to the LED shim
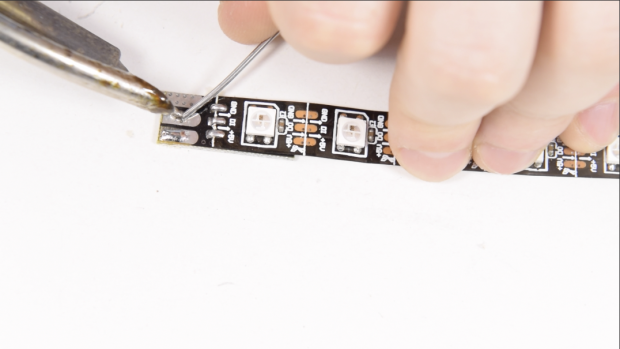
Add a small blob of solder to each of the pads on the circuit board. This will make it easier to attach the wires.
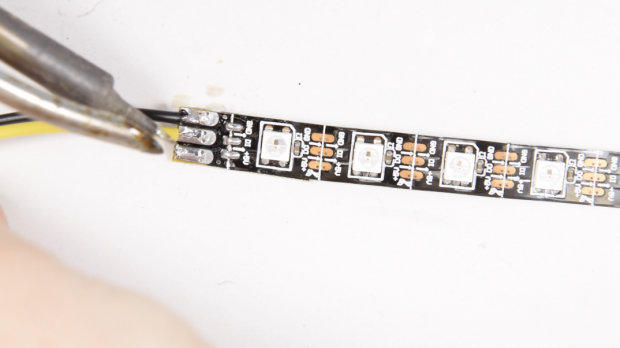
Next, add the wires one at a time. Use red for +5v, yellow for data, and black for ground.
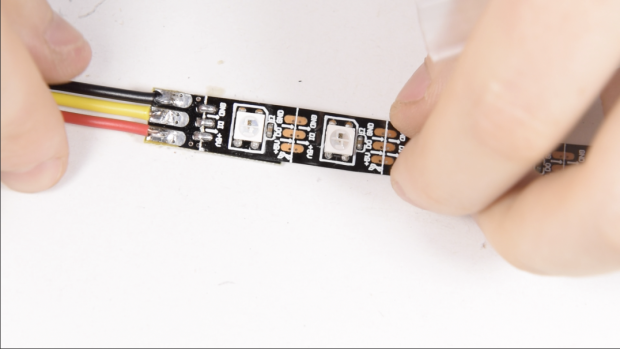
Flex the wires a bit to test that they are strongly connected.
Step 3: Add the heatshrink tube
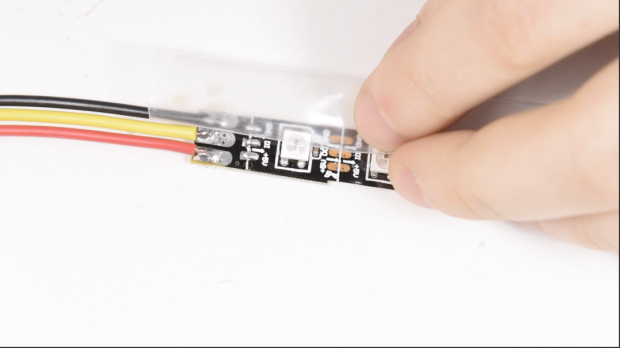
Cut a piece of heatshrink tube to about 4cm length. It should be long enough to extend on either side of the shim by .5cm.
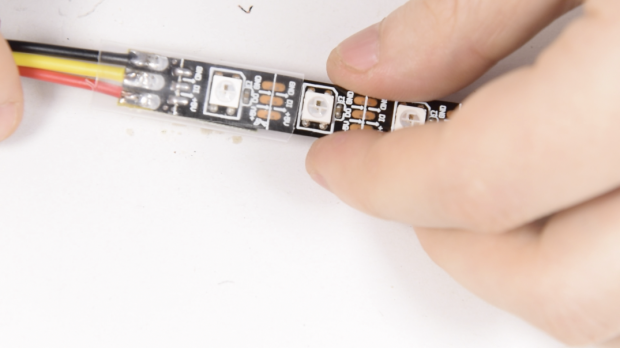
Slide the heatshrink tube over the wires, and center it in the middle of the shim. Tip: If you have a controller handy, now is a good time to connect up your strip and make sure it is wired correctly!
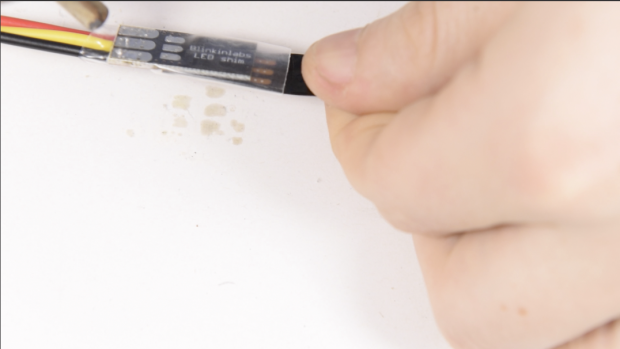
Use a hot air gun (or lighter) to shrink the tube down, strengthening the connection between the shim and the LED strip.
Step 4: Enjoy!
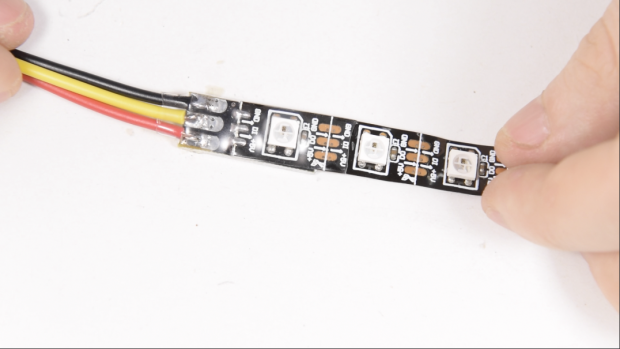
Now get back to blinkin!