PatternPaint
PatternPaint allows you to create animations for your Blinky device. Preview your changes in real-time, and save your animations to the blinky for playback without a computer!
Use PatternPaint to:
- Create light paintings with long-exposure photography
- Design blinky patterns for wearable lights
- Set dynamic patterns for ambient light installations
- And more!
Get PatternPaint
Windows
Just run the installer after it’s downloaded and follow the prompts. Note: This installer also includes drivers for the BlinkyTape and BlinkyTile controller. (Not necessary on other operating systems.)
macOS
Open the installer and drag PatternPaint into your Applications folder.
Linux
PatternPaint 2.4.3 for 64-bit Linux
Download the image, give it write permissions, then double-click to run it.
Older versions of PatternPaint are available here.
Using PatternPaint
PatternPaint provides some simple tools for drawing your own patterns. To get started, simply plug your BlinkyTape into your computer, then run PatternPaint.
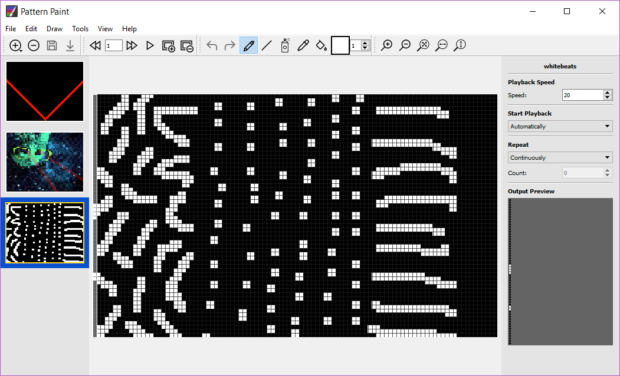
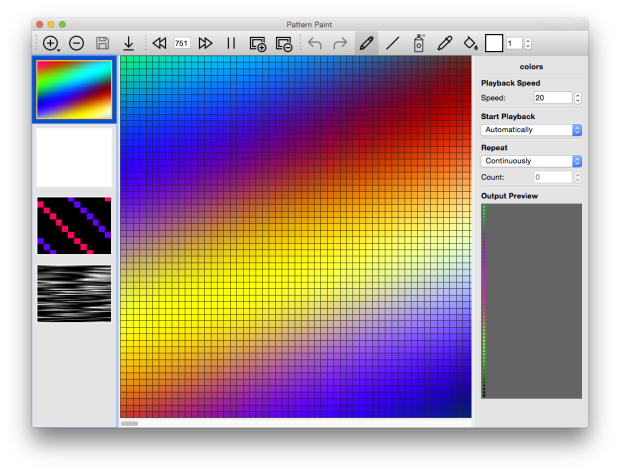
Here’s an overview of the PatternPaint UI:
Creating and Saving patterns
- Click File->Open->Scrolling Pattern… to open a PNG image as a scrolling pattern.
- Alternately, click File->Open->Frame-based Pattern… to open a PNG image as a movie (frame-based) pattern.
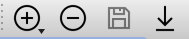
- Click File->Save button to save your current pattern as a PNG image.
Modify your pattern

The drawing toolbar lets you select different tools to use to draw your image. You can use
- Pencil: Make a freehand drawing
- Line: Draw a straight line from one point to another
- Spray can: Add sparkly flecks to your drawing
- Eyedropper: Grab a color from the drawing
- Bucket Fill: fill an area with the same color
Load multiple patterns to make a show
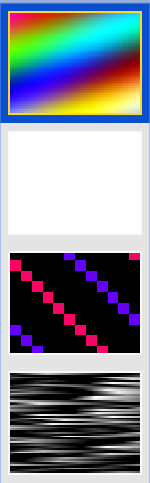
- The pattern slideshow lets you arrange your pattern.
- Click on a photo to select that pattern
- Drag the patterns up or down to re-arrange their playback order
- Once they are saved to your blinky, press the button on the blinky to switch between them
Preview the show

- Click on the left and right arrows to advance forward or backward by a single frame
- Type the number of a frame into the frame indicator to jump directly to a different frame
- Press the Play/Pause button to start or stop the animation playback
- Click the ‘Add frame’ button to add a frame before the current frame
- Click the ‘Remove frame’ button to delete the current frame
If you have a blinky connected, it will automatically display the pattern on it. If not, you can use the output preview window to get an idea of what it will look like:
Saving to your Blinky
One of the best features in PatternPaint is the ability to save patterns to your Blinky for later. When you do this, the tape will play this pattern back whenever it’s plugged in to a power source.
When you’ve fine-tuned your pattern, just click the “Save to Blinky” button to save it to tape! You’ll see a progress bar, and the tape will stop for a moment — now your tape will remember its pattern after you’ve disconnected it from the computer! Or just connect again to fine-tune.
Factory Reset
If you find that you miss the lovely default rainbow animation, PatternPaint can help you with that.
- Connect your BlinkyTape to your computer via USB
- Open the PatternPaint program
- Click the Connect button.
- In the menu bar, select Tools, then ‘Restore Firmware’
- After a moment, your BlinkyTape should be swirling colors with the factory default rainbow program.
Advanced Usage
PatternPaint is written in Qt and the source code is available right here.