BlinkyTile Assembly
Assembling your BlinkyTile just takes a bit of soldering. Let’s have a look at the procedure for building a the dodecahedron ball.
Before we get started, let’s set some ground rules.
Well, there’s really only one rule: line up all five pads between the two tiles you’re soldering.
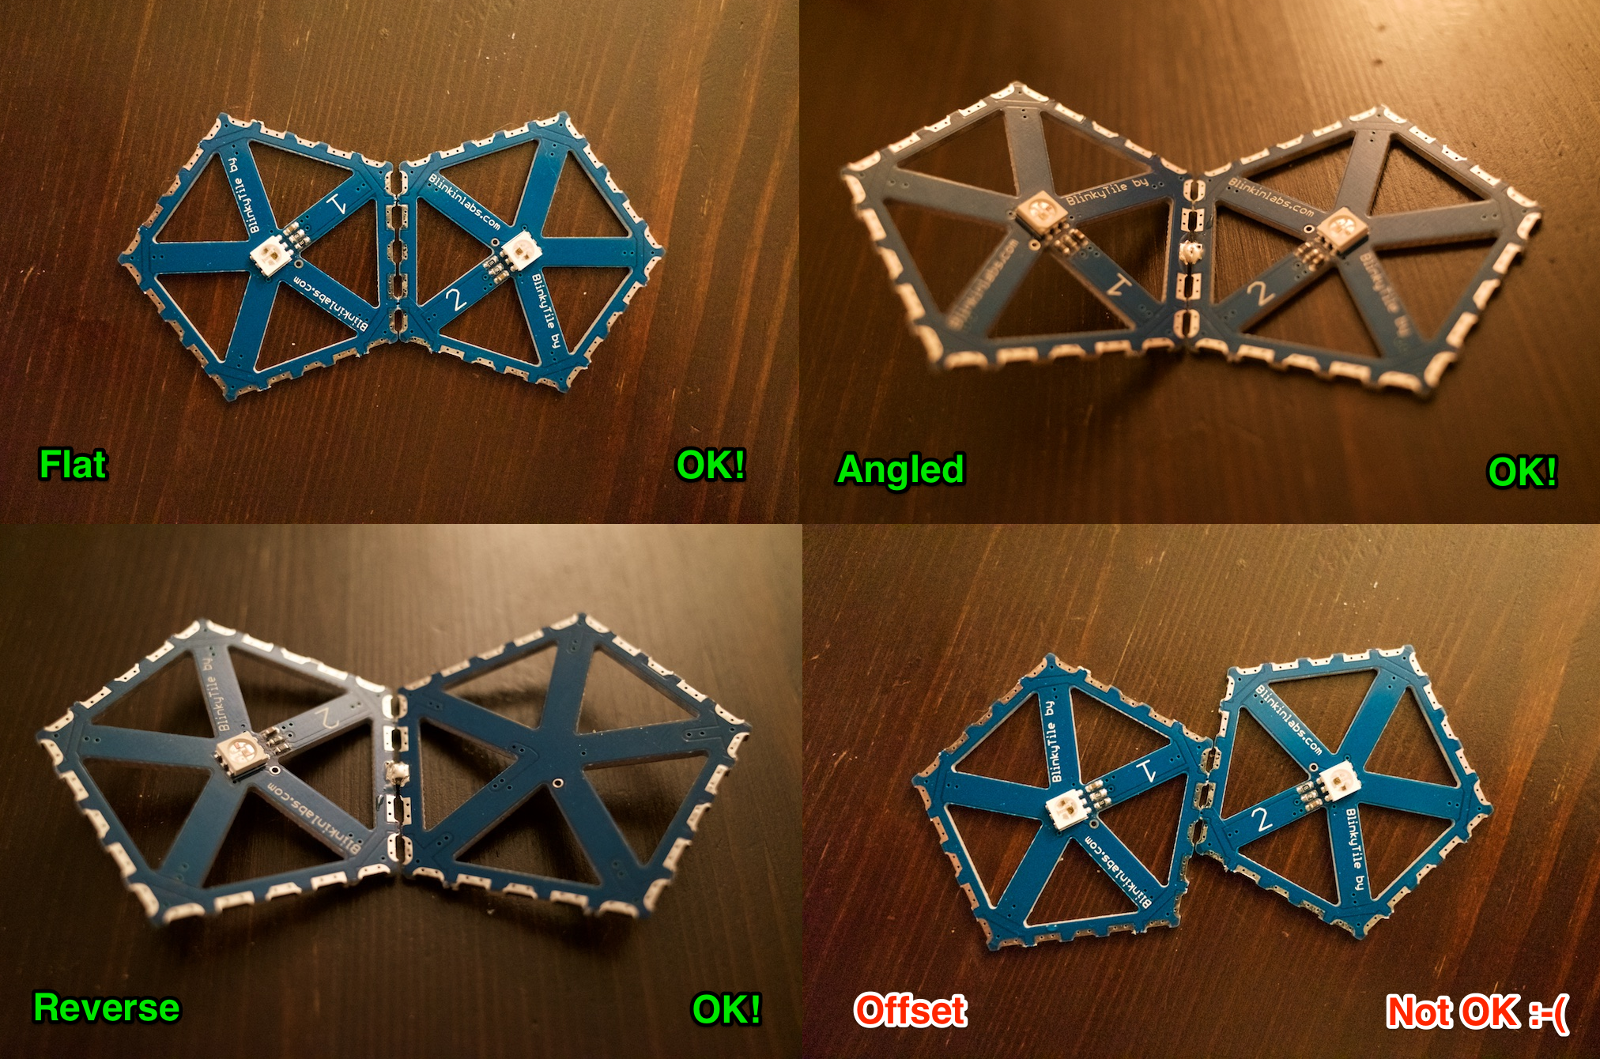
Note that you’ll need to solder all five pads before turning on your sculpture – but more on that later.
Let’s start building our blinkyball.
First, snap the tiles out of the PCB panel.
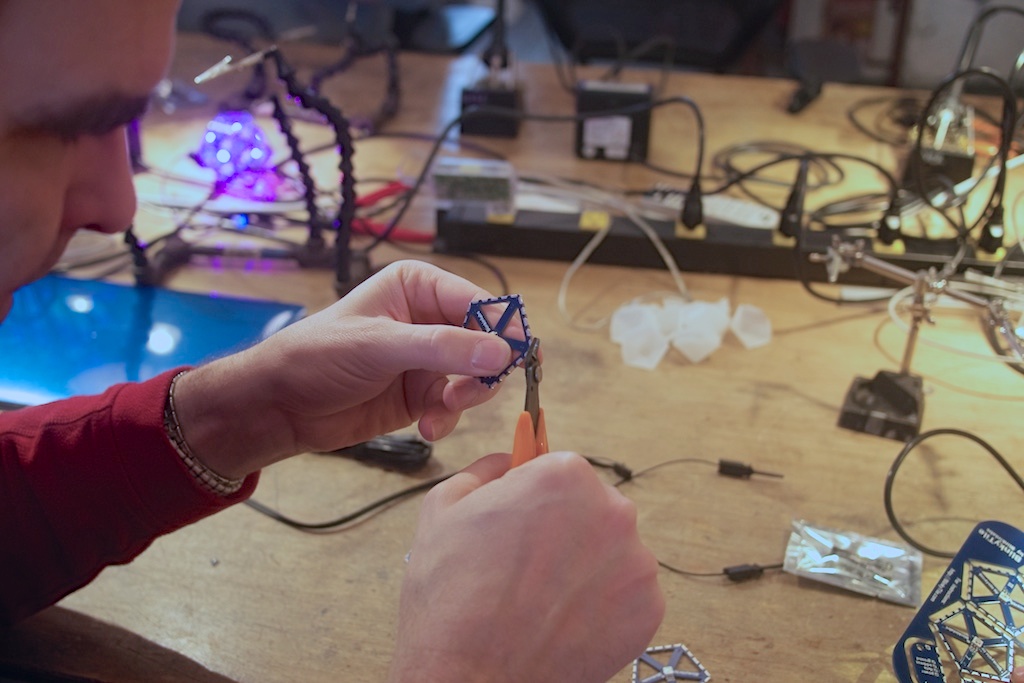
If there are any sharp edges be sure to clip them off or use a file to remove them.
Next, we’ll get the adapter board ready – this is the board on the corner of the PCB that connects your sculpture to the wires it needs for power.
Find one of the small 4-pin connectors and put it in place for soldering. Be sure to put it on the right side – you’ll cover up the white lettering screened on the board.
Then just solder in place. See how the back of the PCB is blank here? Make sure you can’t see the lettering.
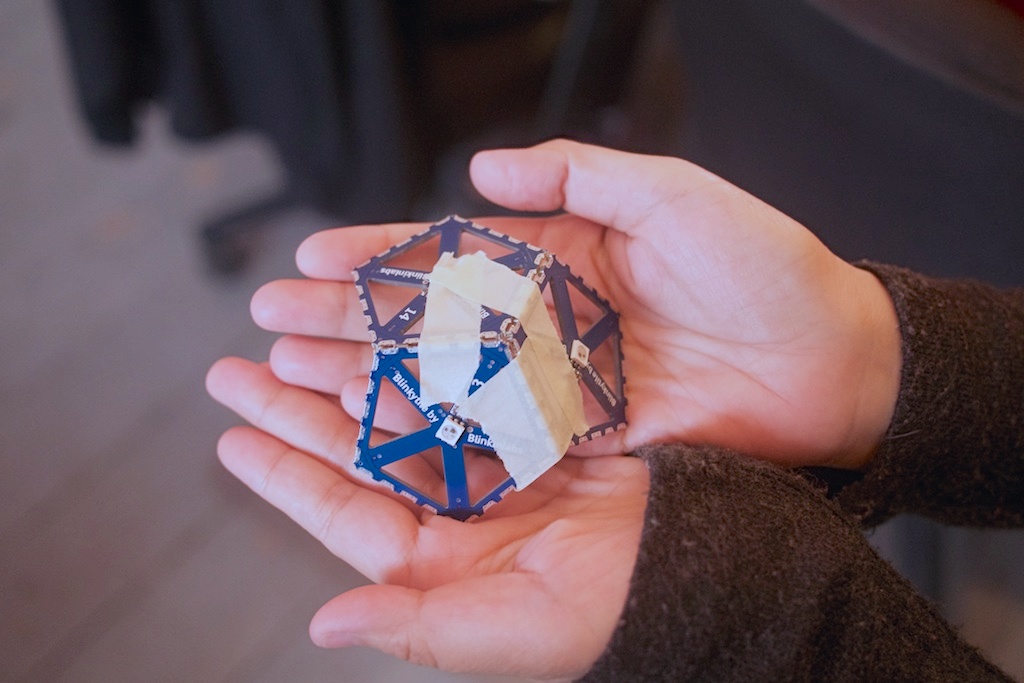
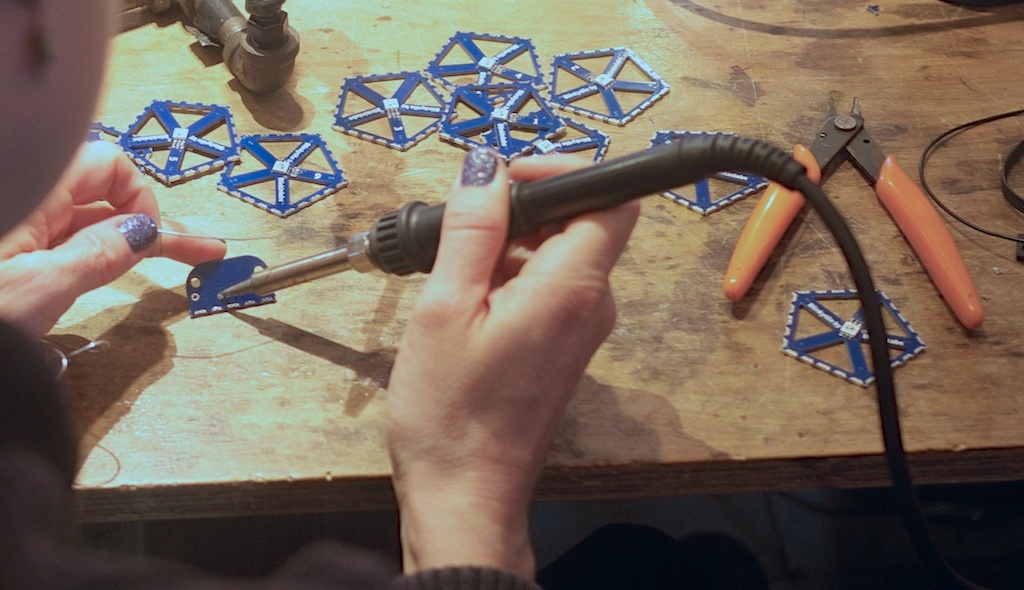
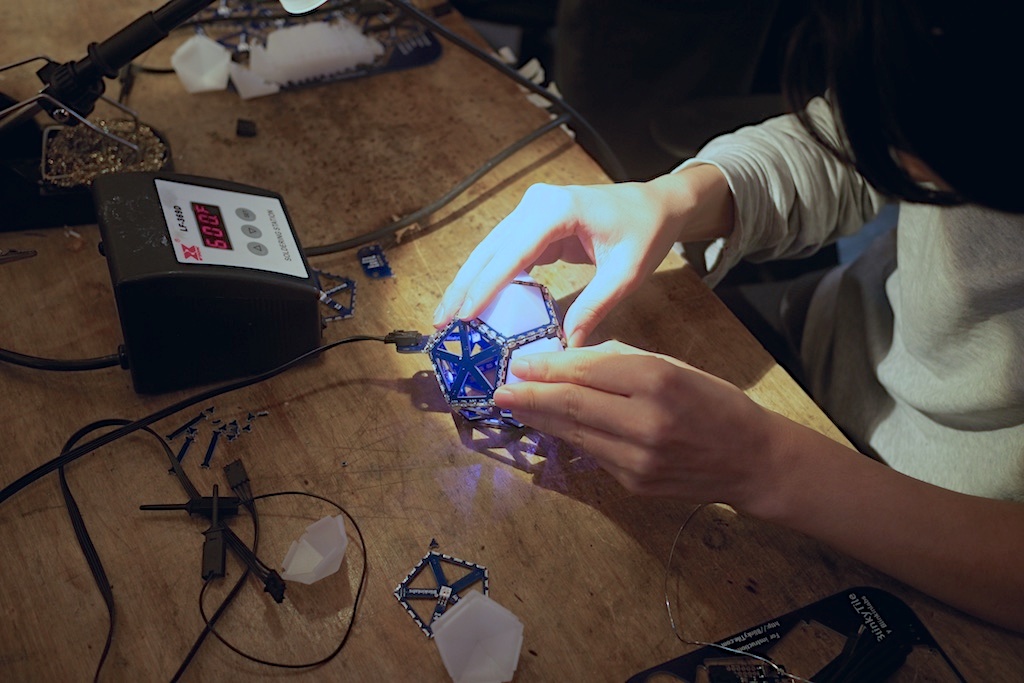
Now we’re going to start soldering the BlinkyTiles together. The easiest way to do this is to tape the first three tiles together at the correct angle, like this.
Once the tape is in place, just make one solder joint on each side as you build up the sculpture.
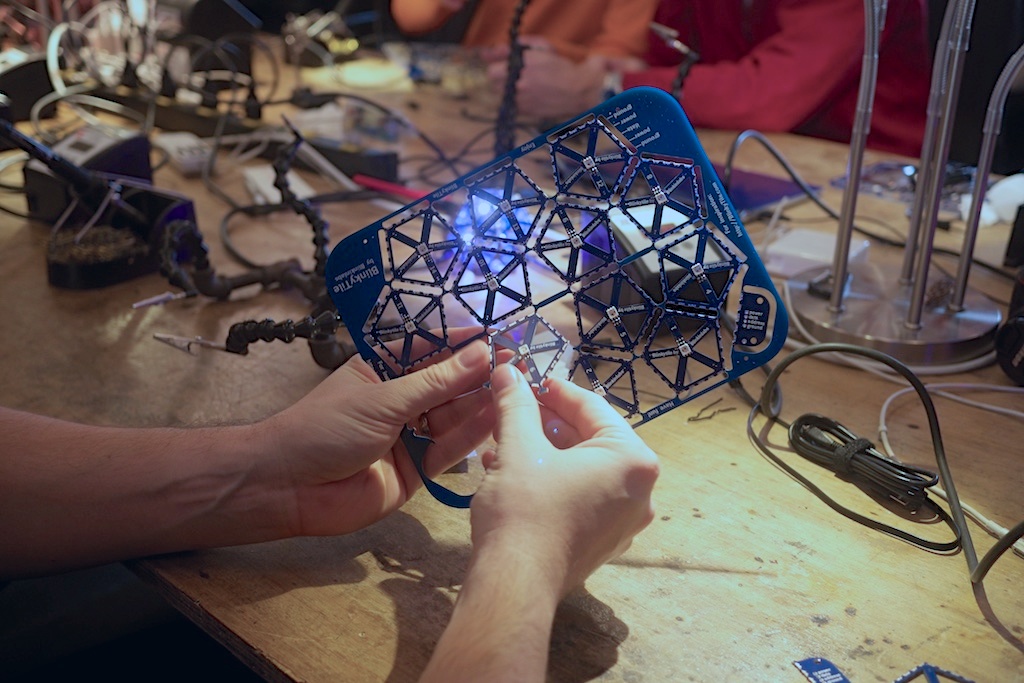
Note: you have a big decision to make here – should the lights go in or out? Luckily, there’s no wrong answer.
Here’s a photo of one with the lights pointed in – great for shadows.

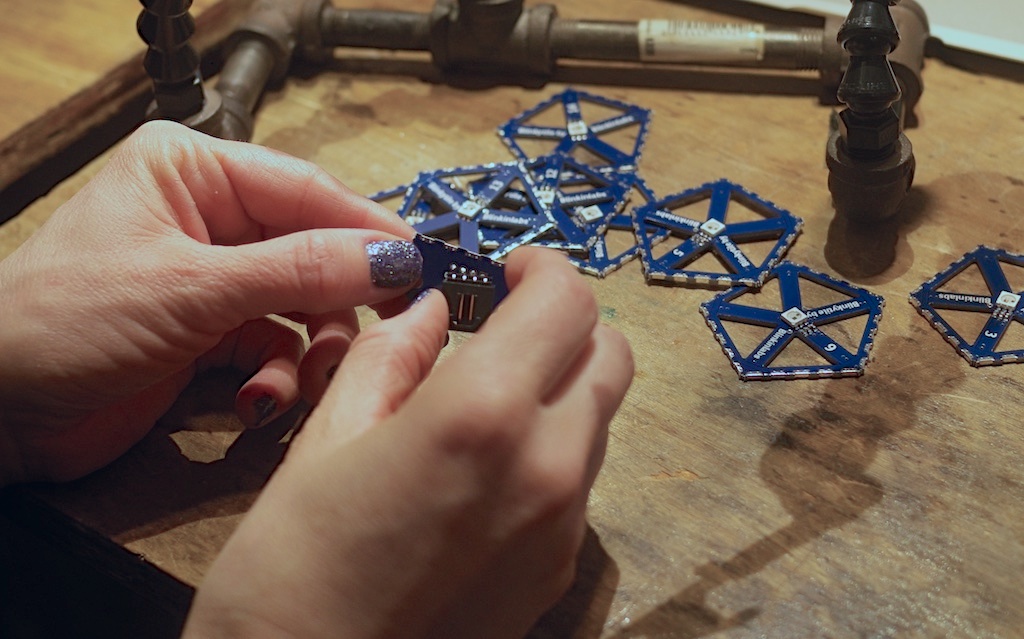
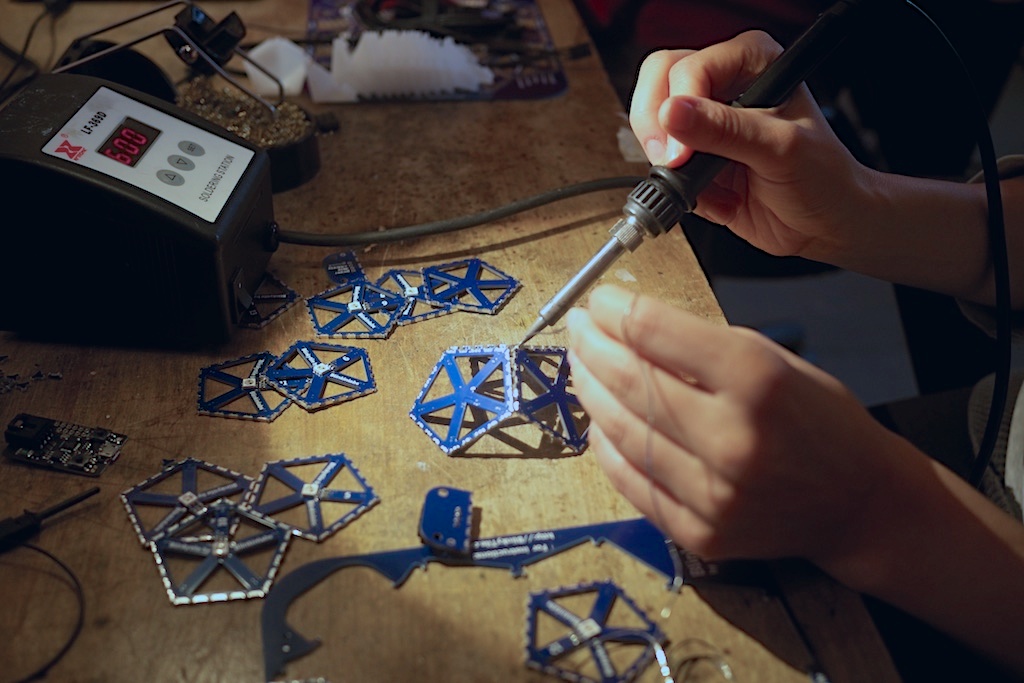
It gets easier as add more tiles. You can still use tape to hold new tiles in place.
Note how this builder has soldered just the end pads on each side – then at the end, she’ll go back and fill in the rest of the connections.
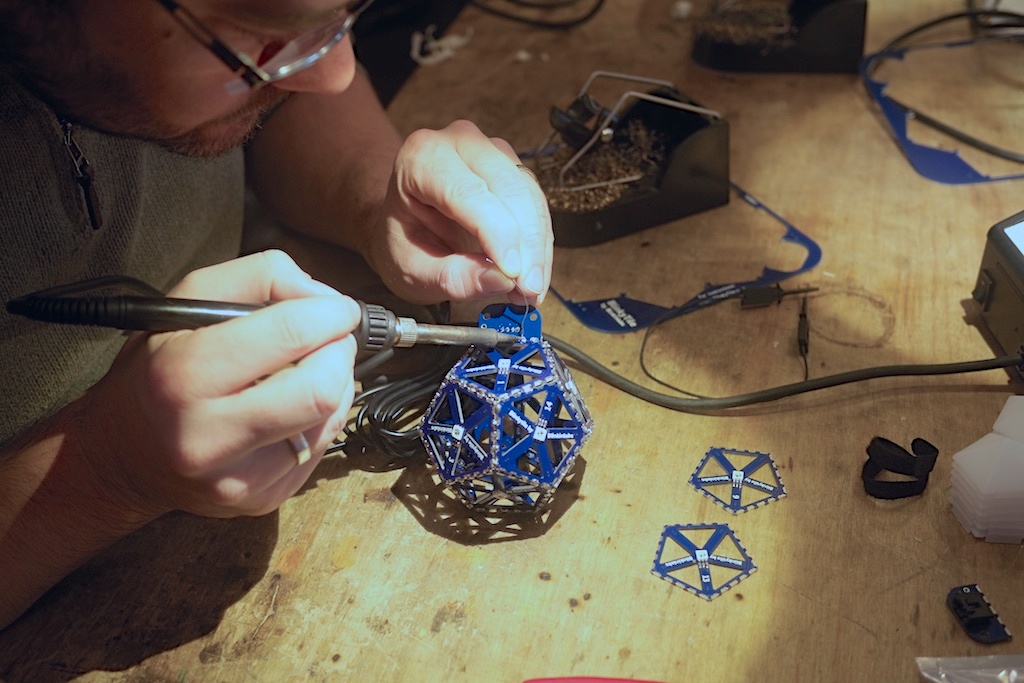
The last soldering step is to add the adapter board (remember the one we put that connector on?)
After that, you can just snap in the wire that connects the sculpture to the controller board and plug everything in to USB!
Last, if you have diffusers, snap them in place, and you’re good to go!
If you’re building a larger light sculpture, don’t worry: just build up to something larger, using the same techniques you see here!